Step-by-Step Guide: Creating Bootable USBs for the Latest Windows 12 Release
Creating Bootable USBs for the Latest Windows 12 Release
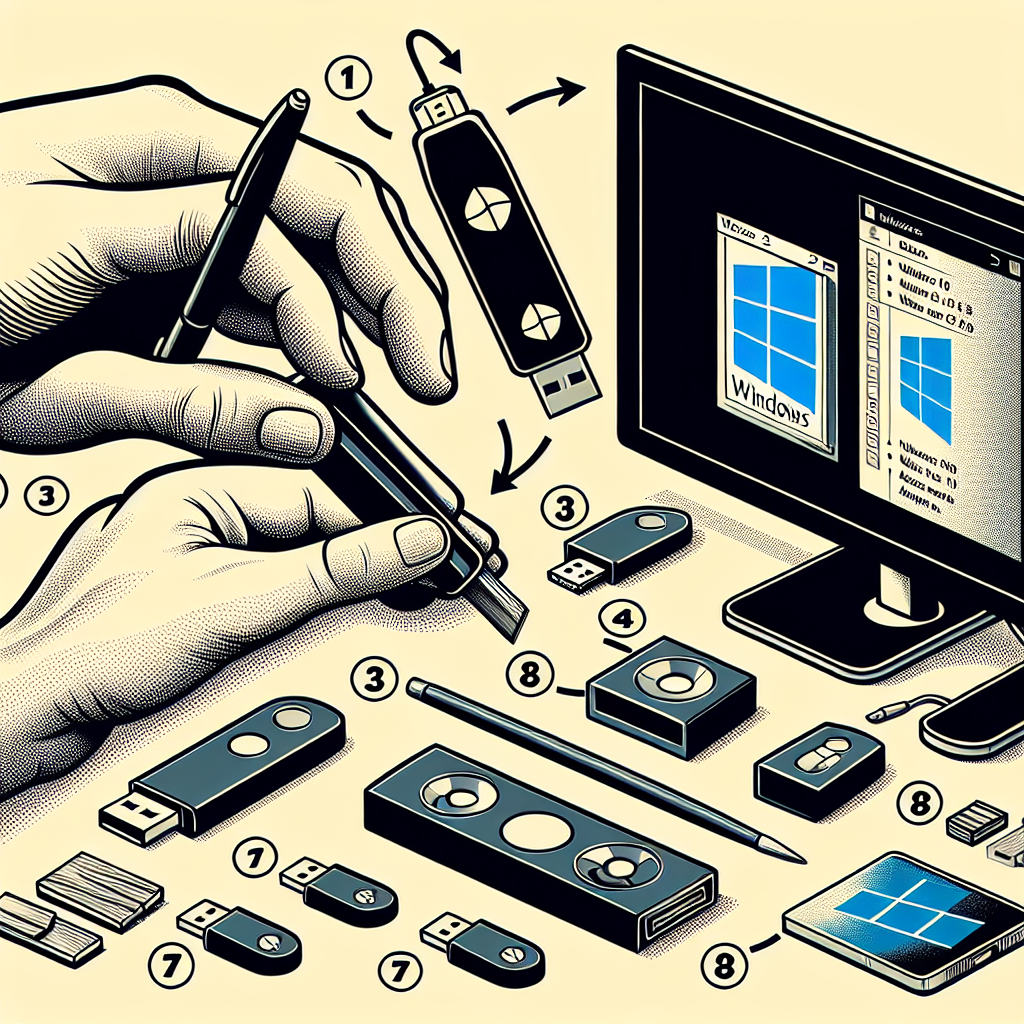
Are you ready to install the latest Windows 12? Creating a bootable USB is an essential step. In this guide, we’ll walk you through the process, ensuring a smooth installation experience. Let’s dive right in!
Key Takeaways
- Understand the importance of a bootable USB.
- Follow the step-by-step process for creating the USB.
- Learn about the best tools and requirements.
- Discover common troubleshooting tips.
Why Create a Bootable USB?
Creating bootable USBs is essential for installing operating systems, especially for systems that don’t have DVD drives anymore. A USB drive is faster and more efficient, making the installation of Windows 12 much easier.
Requirements
Before getting started, gather the following:
- USB flash drive (8GB or larger)
- Windows 12 ISO file
- Rufus or similar USB creation tool
- A computer running Windows
Comparison of USB Creation Tools
| Tool | Operating System | Features | User Rating |
|---|---|---|---|
| Rufus | Windows | Fast, portable, supports multiple formats | 4.5/5 |
| UNetbootin | Windows, macOS, Linux | Linux Live CDs, cross-platform | 4.0/5 |
| Etcher | Windows, macOS, Linux | User-friendly interface, supports image files | 4.7/5 |
Step-by-Step Guide to Create a Bootable USB
-
Download Rufus:
Visit the Rufus website and download the latest version.
-
Insert USB Drive:
Plug in your USB flash drive and ensure it’s recognized by your computer.
-
Open Rufus:
Launch the program. It should automatically detect your USB drive.
-
Select ISO Image:
Click on the “SELECT” button and navigate to the Windows 12 ISO file you downloaded.
-
Configure Settings:
Keep default settings unless you know what changes are needed. Select “MBR” for BIOS compatibility.
-
Start the Process:
Click on “START.” Rufus will warn you that all data on the USB will be erased. Confirm to proceed.
-
Wait for Completion:
The creation process may take a few minutes. Once complete, you will receive a success notification.
Use Cases for Bootable USBs
Bootable USBs provide advantages in several scenarios:
- System Refresh: Quickly reinstall Windows 12 after a system failure or virus attack.
- Testing New Features: Use Windows 12 on older computers to test features without overwriting existing installations.
- Gaming Setups: Install Windows 12 on a new gaming rig using an efficient bootable process.
Pros & Cons of Using Bootable USBs
- Faster installation process.
- Portable and easy to use.
- No need for optical drives.
- Can store multiple OS images.
- USB drive is required.
- Data loss possible if not handled correctly.
- Requires PC access for creating the USB.
Example: Real World Setup
John, a tech-savvy gamer, decided to upgrade his old laptop to Windows 12. With a 16GB USB drive, he followed the Rufus guide mentioned, and in 10 minutes, his bootable USB was ready. He booted the laptop, installed Windows 12 effortlessly, and optimized his gaming experience.
Conclusion
Creating bootable USBs for the latest Windows 12 release is a straightforward process that enhances your installation experience. By following the step-by-step guide outlined, you’re well equipped to tackle the upgrade and ensure your system is running smoothly.
FAQs
How to create a bootable USB for Windows 12?
Follow the steps outlined above, using a USB tool like Rufus, to create a bootable USB with the Windows 12 ISO file.
Why does my USB not show up in Rufus?
Ensure that the USB is properly connected, formatted, and visible in your computer’s file manager before launching Rufus.
Can I use a USB drive larger than 8GB?
Yes, any USB drive larger than 8GB can be used, but ensure it’s formatted correctly to avoid installation issues.
Is creating a bootable USB safe?
Yes, as long as you back up the data on the USB and follow proper procedures, creating a bootable USB is safe.
What tools can I use besides Rufus?
Other tools include UNetbootin and Etcher, which can also be effective for creating bootable USBs for Windows installations.